Object Defaults
When you launch Max, the colors for all Max objects are set to
default values. You can change the look of individual objects using the
object's
Inspector,
and you can use the
Patcher Inspector
to set the background color for a patcher window in both its locked and unlocked states.
Max also allows you to change the default settings of a large number of
Max objects using the Object Defaults window. These object default settings are recalled each time you
launch Max. You can use the Object Defaults window to customize the look
of your copy of Max, and to maintain a consistent look across Max patches.
Note: Although the Object Defaults window lists a large number of default preferences for Max objects, it does not list them all. You can use the object prototype feature to create customized versions of any UI objects not listed in the Object Defaults window and maintain a consistent look to your patches.
Note: Although the Object Defaults window lists a large number of default preferences for Max objects, it does not list them all. You can use the object prototype feature to create customized versions of any UI objects not listed in the Object Defaults window and maintain a consistent look to your patches.
The Object Defaults Window
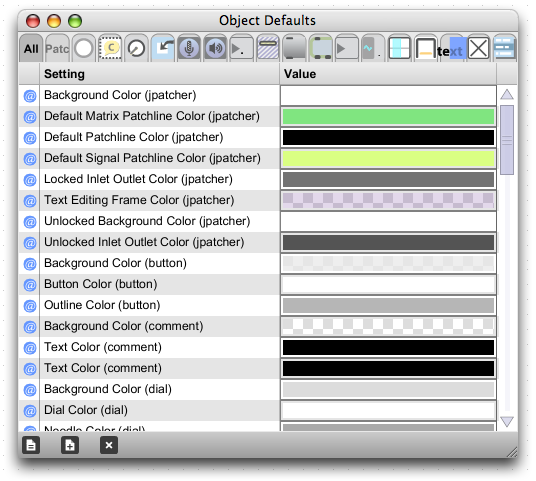
The Object Defaults Window includes of a set of tabs you can use to change what
is displayed in the window, and a listing of all the settings associated
with all Max objects.

Object Defaults Tabs
All shows the settings for all objects.
Patcher shows features associated with the Patcher window,
such as background and patch cord colors.
Object-specific settings are found under the tabs identified with icons as seen in the object palette. Move the mouse over a tab to see the object's name.
Changing a default value for an object
- Select the desired object's tab at the top of the Object Defaults window
- Click in the Value column for a setting you want to change. Use the pop-up Color Palette to change the color.
As you change a color, you'll notice that it will change in any open patcher windows containing the object whose defaults you are modifying.
Restoring the original default value for an object
- Select the desired object's tab at the top of the Object Defaults window
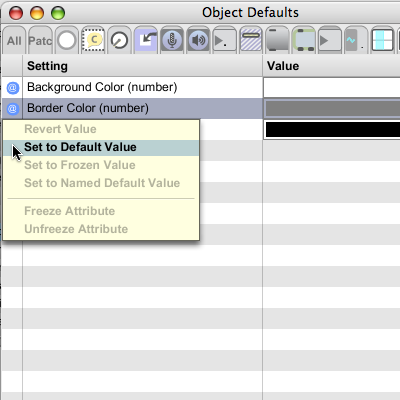
- Click on the @ in the row for the setting you want to restore. Choose Set to Default Value from the pop-up menu.

Saving a set of object defaults
- Click the Save Settings button in Object Defaults window toolbar. Type a name for the settings file. Click OK.
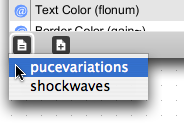
Your new color set will be added to the pop-up menu you see when you
click on the Load Settings button.
Loading a set of object defaults
- Click the Load Settings button in the Object Defaults window toolbar and choose a settings file from the menu.

- The chosen settings will be loaded, the Object Defaults window will show the new colors, and the color set will be applied to all open patcher windows. It will also be used in any newly created patcher windows as well as become the default color set the next time you launch Max.
Reverting to the default object colors
- Click the Set All to Default Values button in the Object Window toolbar. All colors of all objects will be restored to their original default values.
Normally, when you save a patch, the current default colors are not stored. Instead, no value is stored for a color if it is set to the default value. This has the effect of making files smaller as well as making it possible to apply your default colors not just to new patches, but to patches you made in the past or patches you get from other people. However, if you really want specific colors in a patch, you can save all object attributes, whether they are set to the current default value or not.
Insulating a patch from the effect of object defaults
- Before saving a patcher, choose Patcher Inspector from the View menu to open the patcher inspector window.
- Check Save Default-Valued Object Attributes.
- Close the patcher inspector window and save the patcher.