Meshing and Multiplying with Jitter Geometries
Since the Half-edge Geometry Structure maintains information about which points are adjacent to which other points, certain operations are much faster and more efficient. In particular, the jit.geom family includes objects that can add, remove, and smooth the position of vertices, all while maintaining the overall shape.
Remeshing, Subdividing, Decimating
Open the patch geom-03.maxpat.
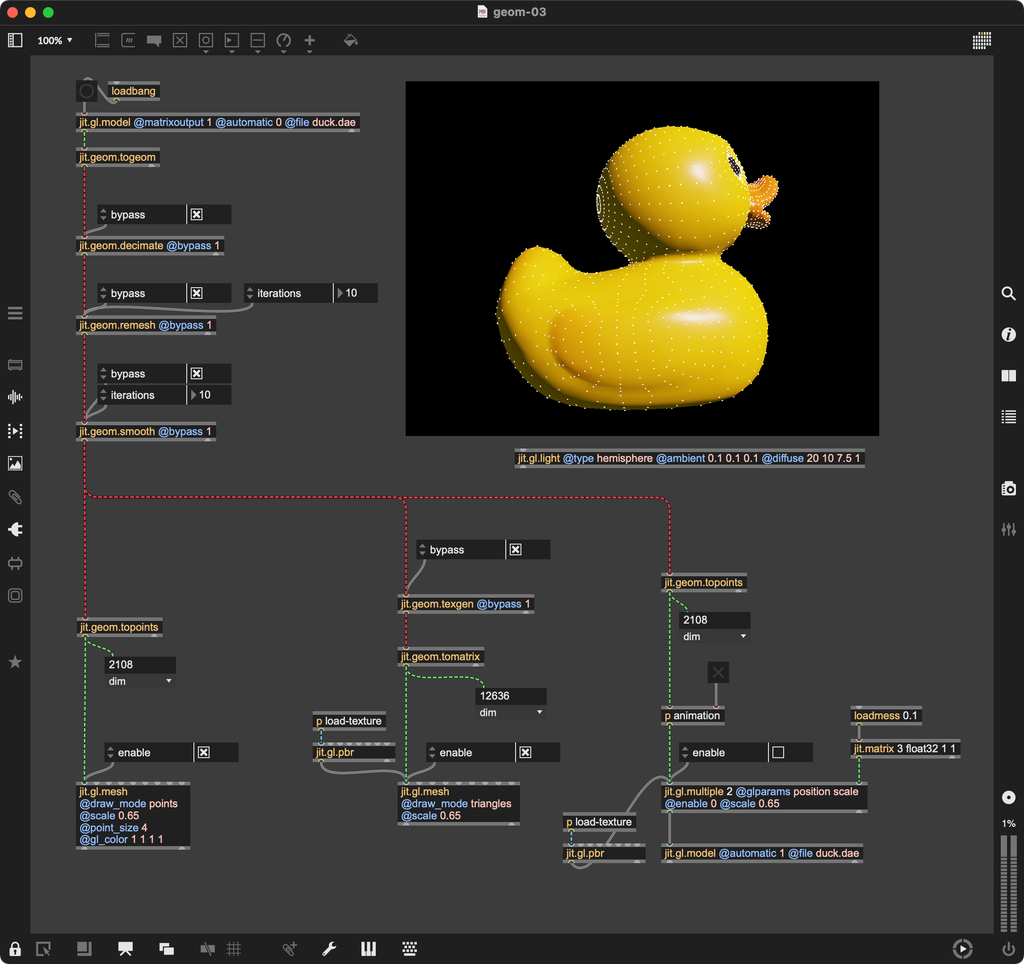
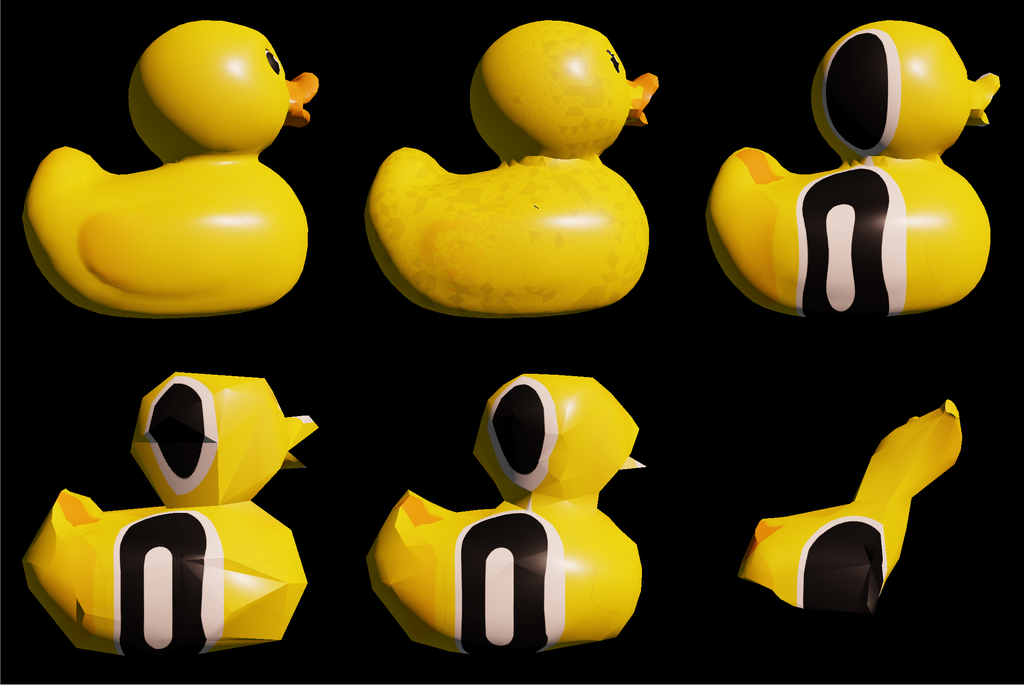
When you first open the patch, you'll see the familiar duck model, in its original form. That's because at first, the four main operations that we're performing on the geometry—decimate, remesh, smooth, and texgen—are all disabled.
First, disable the @bypass attribute on the first jit.geom.decimate object. Right away, you'll notice that the object drastically reduces the number of points in the model. However, you'll also see that it maintains the overall shape of the model as well.
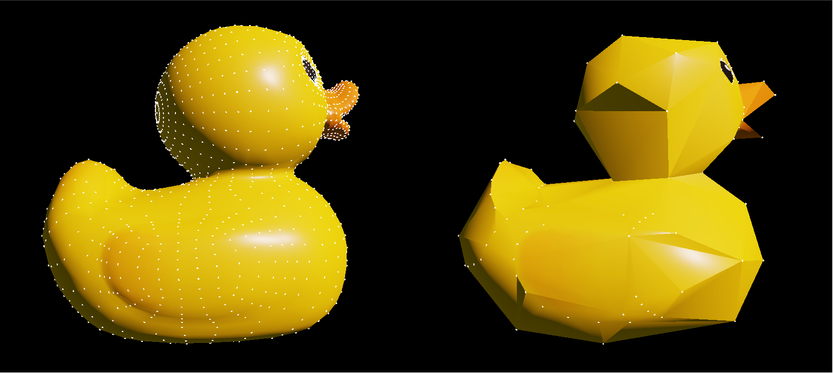
Now, try disabling the @bypass attribute on the jit.geom.remesh object. You'll see that the vertices move to new coordinates that are more evenly spaced on the surface of the mesh. You can try disabling the jit.gl.mesh in the bottom-center of the patch as well, which will show you just the vertex points and not the model. This may make it easier to the effect of jit.geom.remesh.
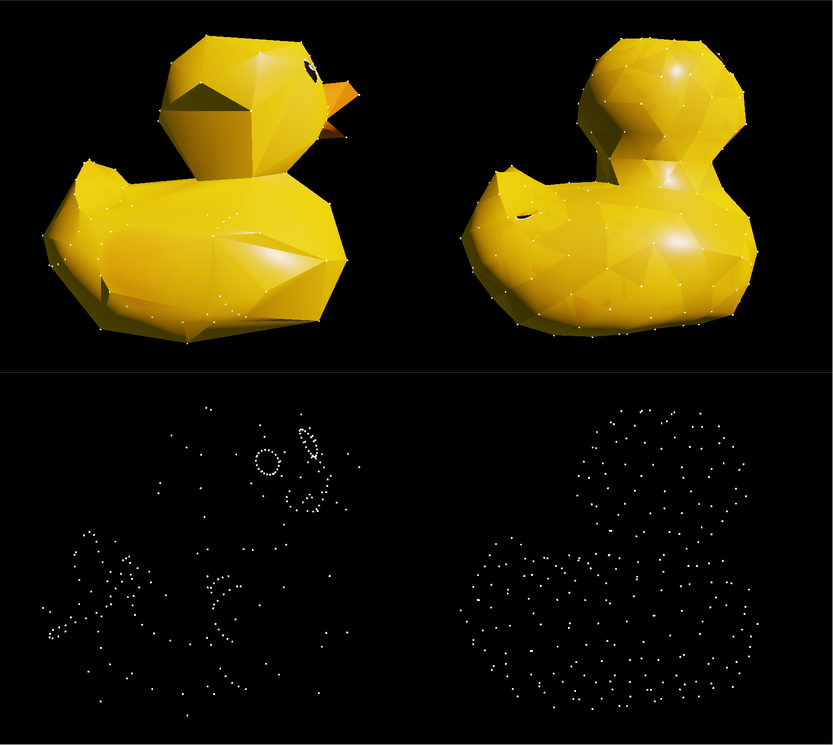
It's important to highlight that all of these vertex-adjustment algorithms are iterative. You can try experimenting with the @iterations attribute to see how this affects the output of each step. Try re-enabling the model and changing the number of iterations on the jit.geom.remesh object.

Texture Coordinates
As you experiment with the jit.geom.decimate, jit.geom.remesh, and jit.geom.smooth objects, you'll notice that the color of the surface of the model starts to lose its smoothness.
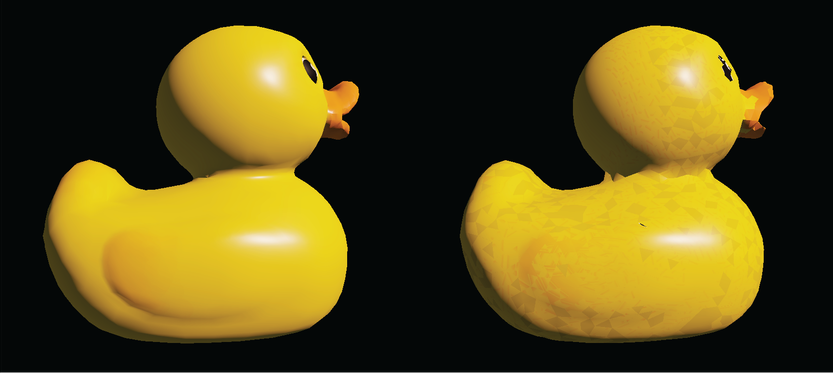
These artifacts appear because the jit.geom.remesh algorithm cannot generate texture coordinates. Once a geometry passes through this object, there's no guarantee that the texture coordinates will contain anything useful. You can try to use jit.geom.texgen to generate new texture coordinates, although these won't necessarily correspond to the originals. However, the results can still be very interesting. Try disabling the @bypass attribute on jit.geom.texgen and seeing how it affects the surface of the model.
Points and jit.gl.multiple
Now, disable the @enable attribute on the jit.gl.mesh that draws the points, as well as the @enable attribute on the jit.gl.mesh that displays the original duck model. Enable the jit.gl.multiple object in the bottom-right of the patcher. You should see a "cloud" of duck models, each drawn at one of the vertices of the original model.
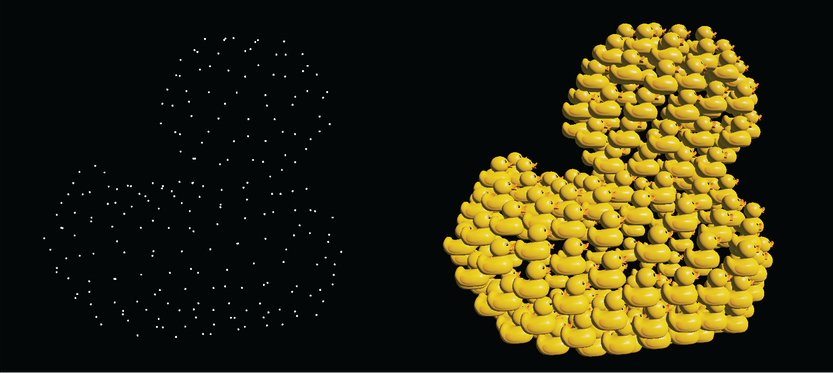
It's important to point out that we're using jit.geom.topoints rather than jit.geom.tomatrix to get the vertices out of our geometry. This is because jit.geom.tomatrix will actually create an 8-plane matrix, including the triangluar mesh, the surface normals, and the texture coordinates. To instance a bunch of ducks on the surface of our model, all we need is the points, so jit.geom.topoints is a much more efficient choice here.
Animation
Try enabling the animation on the points mesh in the bottom-right.
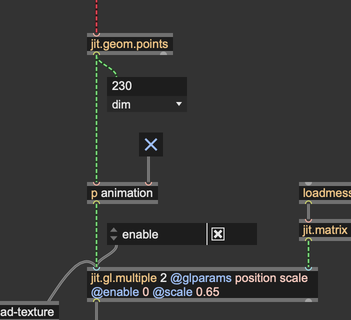
You should see the ducks in the "duck cloud" start to animate. This brings together a couple of different techniques, namely the new Jitter geometry objects along with more "traditional" techniques for working with Jitter matrices.
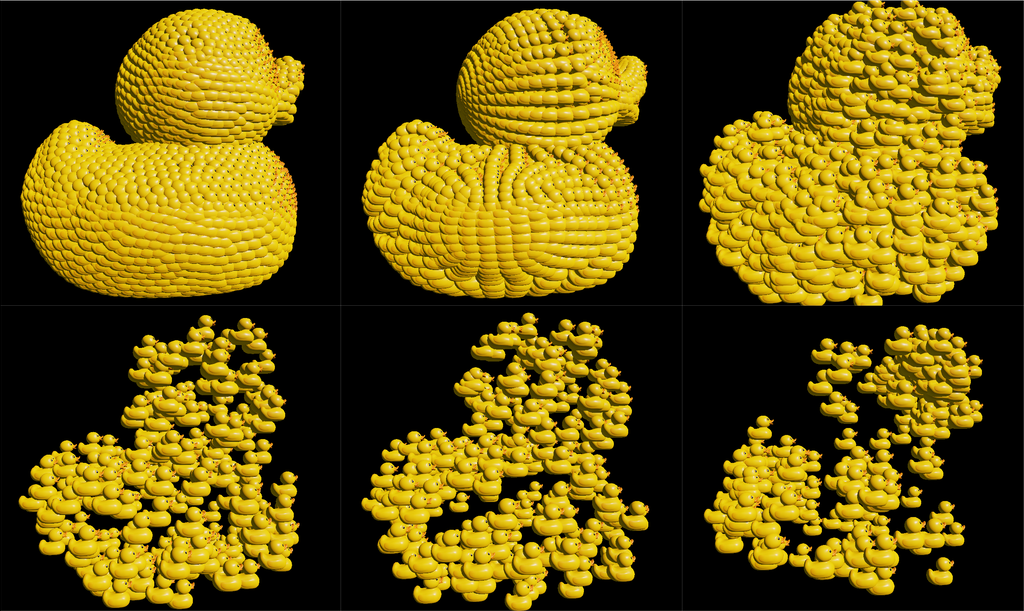
In general, once you've used jit.geom objects to generate a matrix, you can treat that matrix just like any other matrix in Jitter. Even though they have slightly different behaviors, Jitter matrix and geometry objects can each generate data that the other can use.